How to try and fix minor monitor scratches
Weekends mean I pack up my stuff and go stay with my brother for some epic gaming sessions. The schlep of taking EVERYTHING along is always fun, so we have slowly been getting spares that lives at his place.


Weekends mean I pack up my stuff and go stay with my brother for some epic gaming sessions. The schlep of taking EVERYTHING along is always fun, so we have slowly been getting spares that lives at his place. I was using a small monitor borrowed from work, until he managed to score me a monitor that was being replaced by one of his companies for cheap.
According to them it was broken, but besides a minor scratch on the screen there were no major issues thusfar.
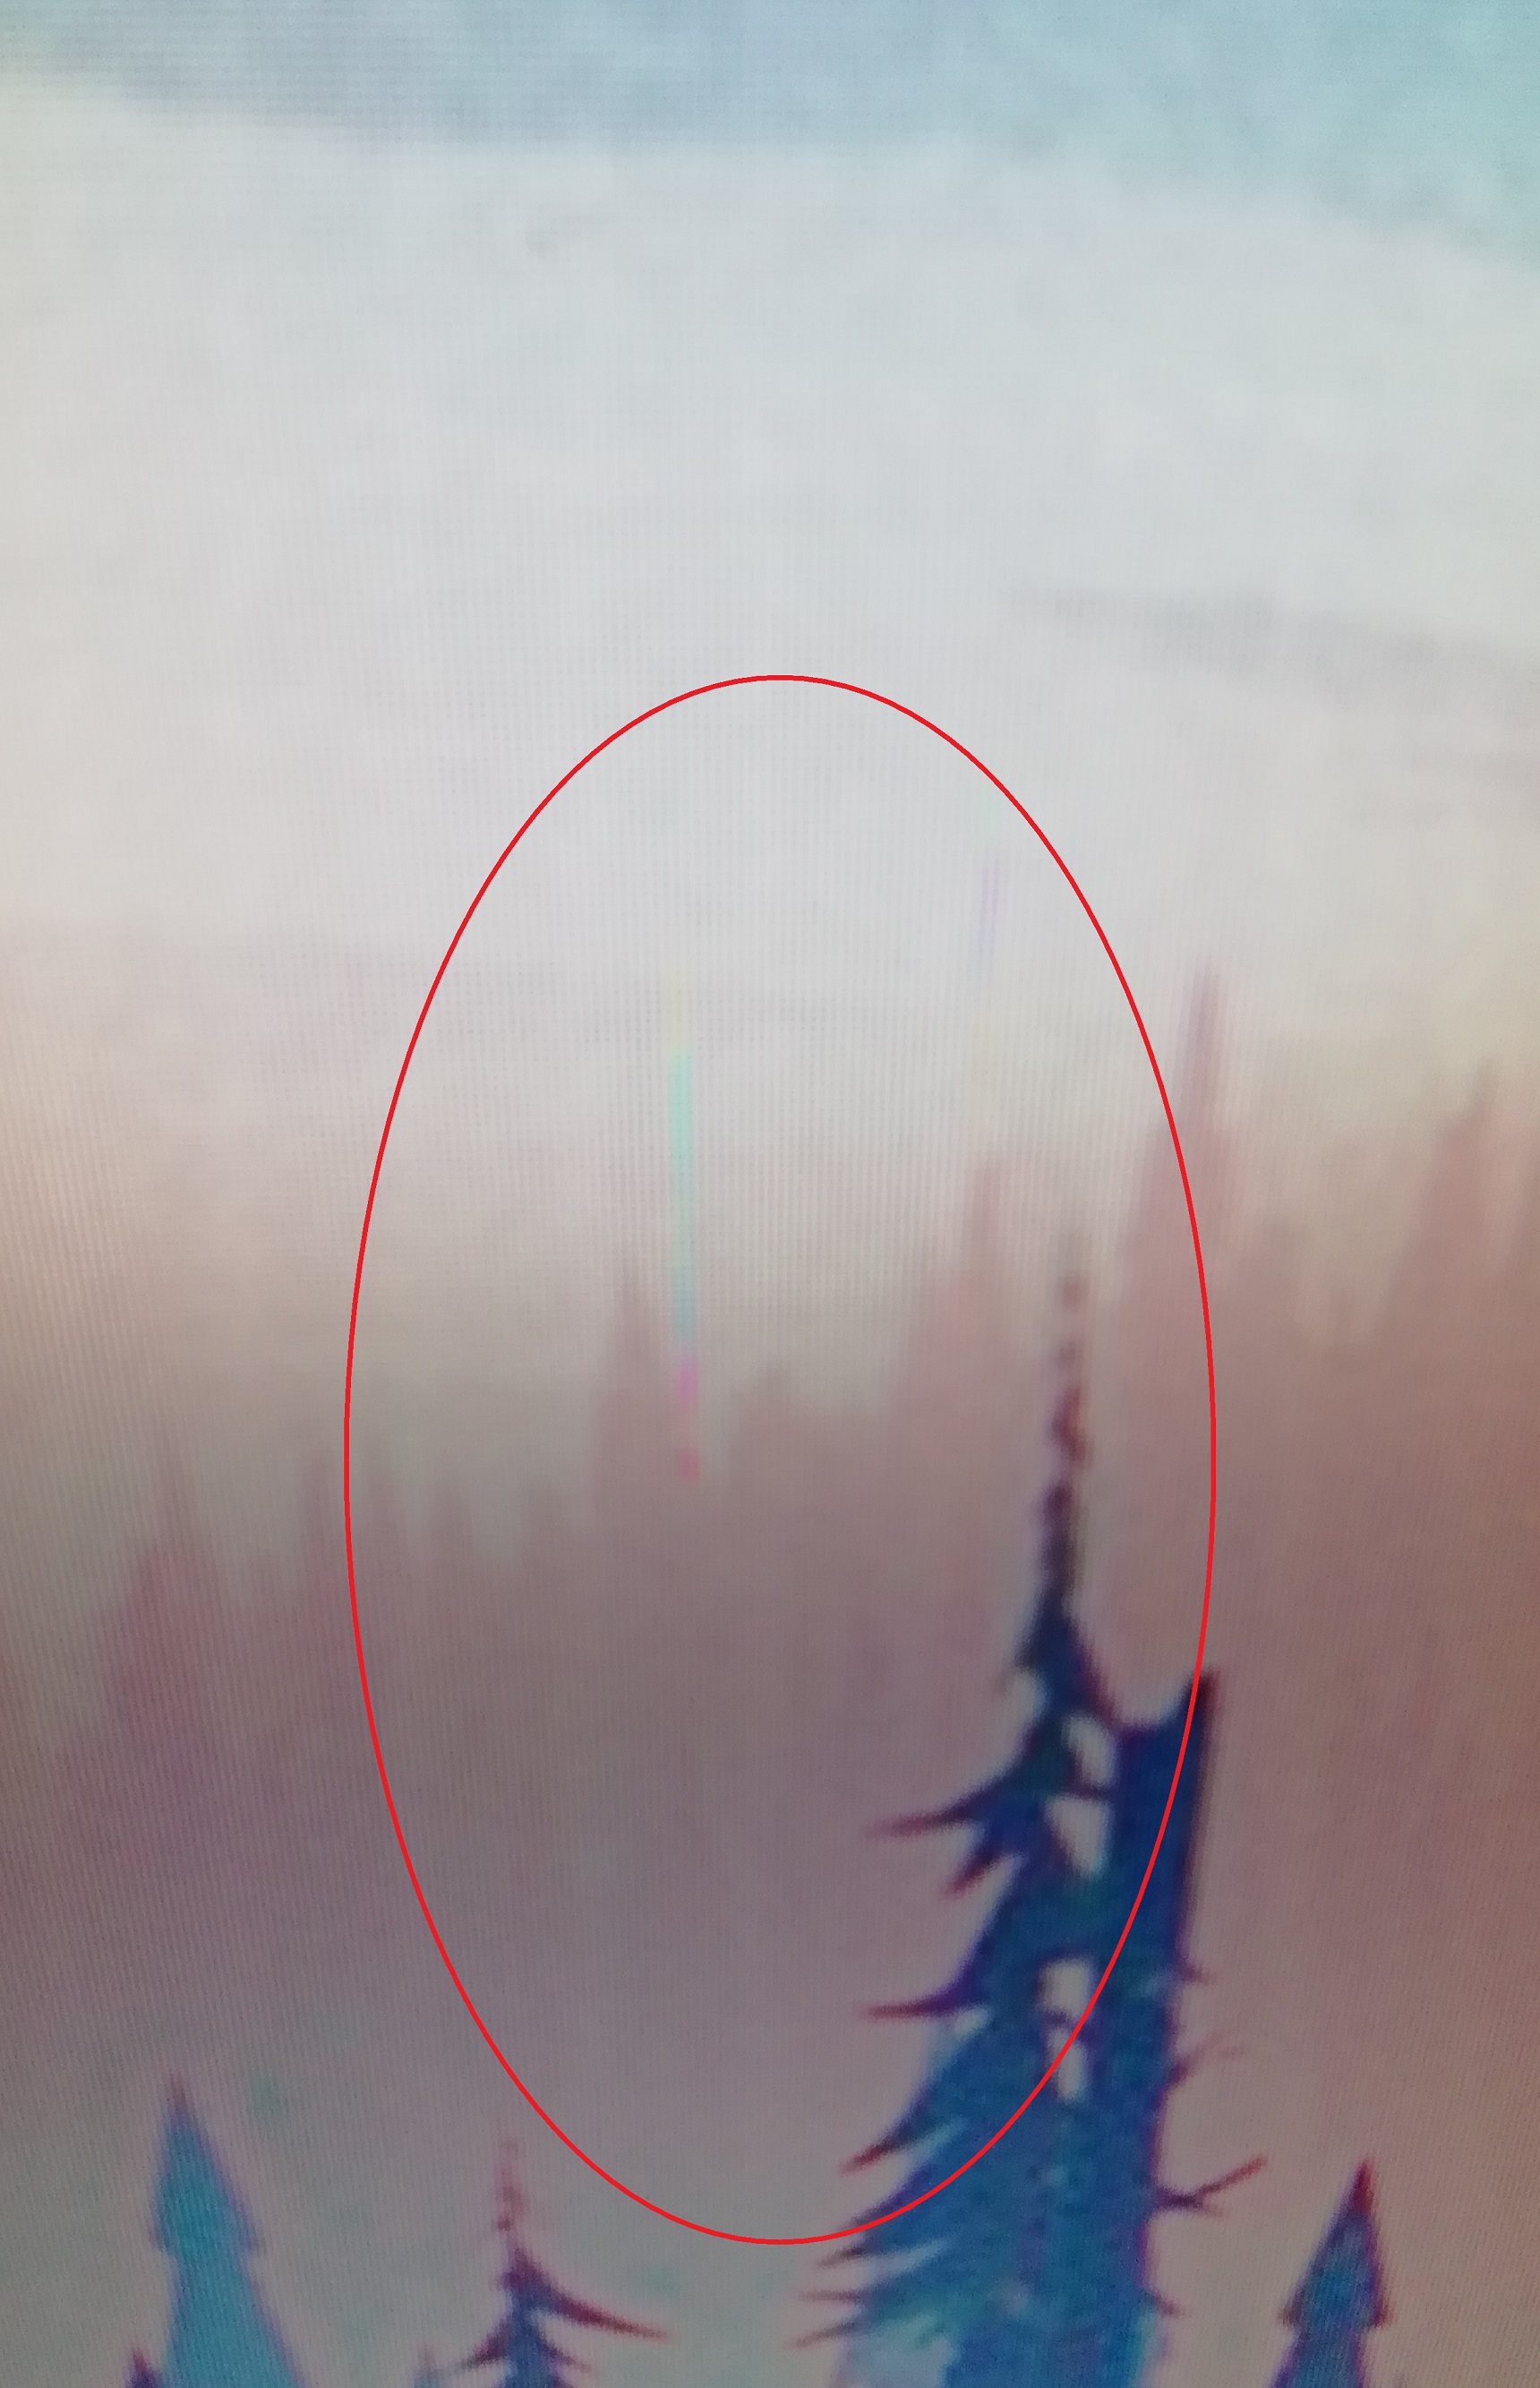
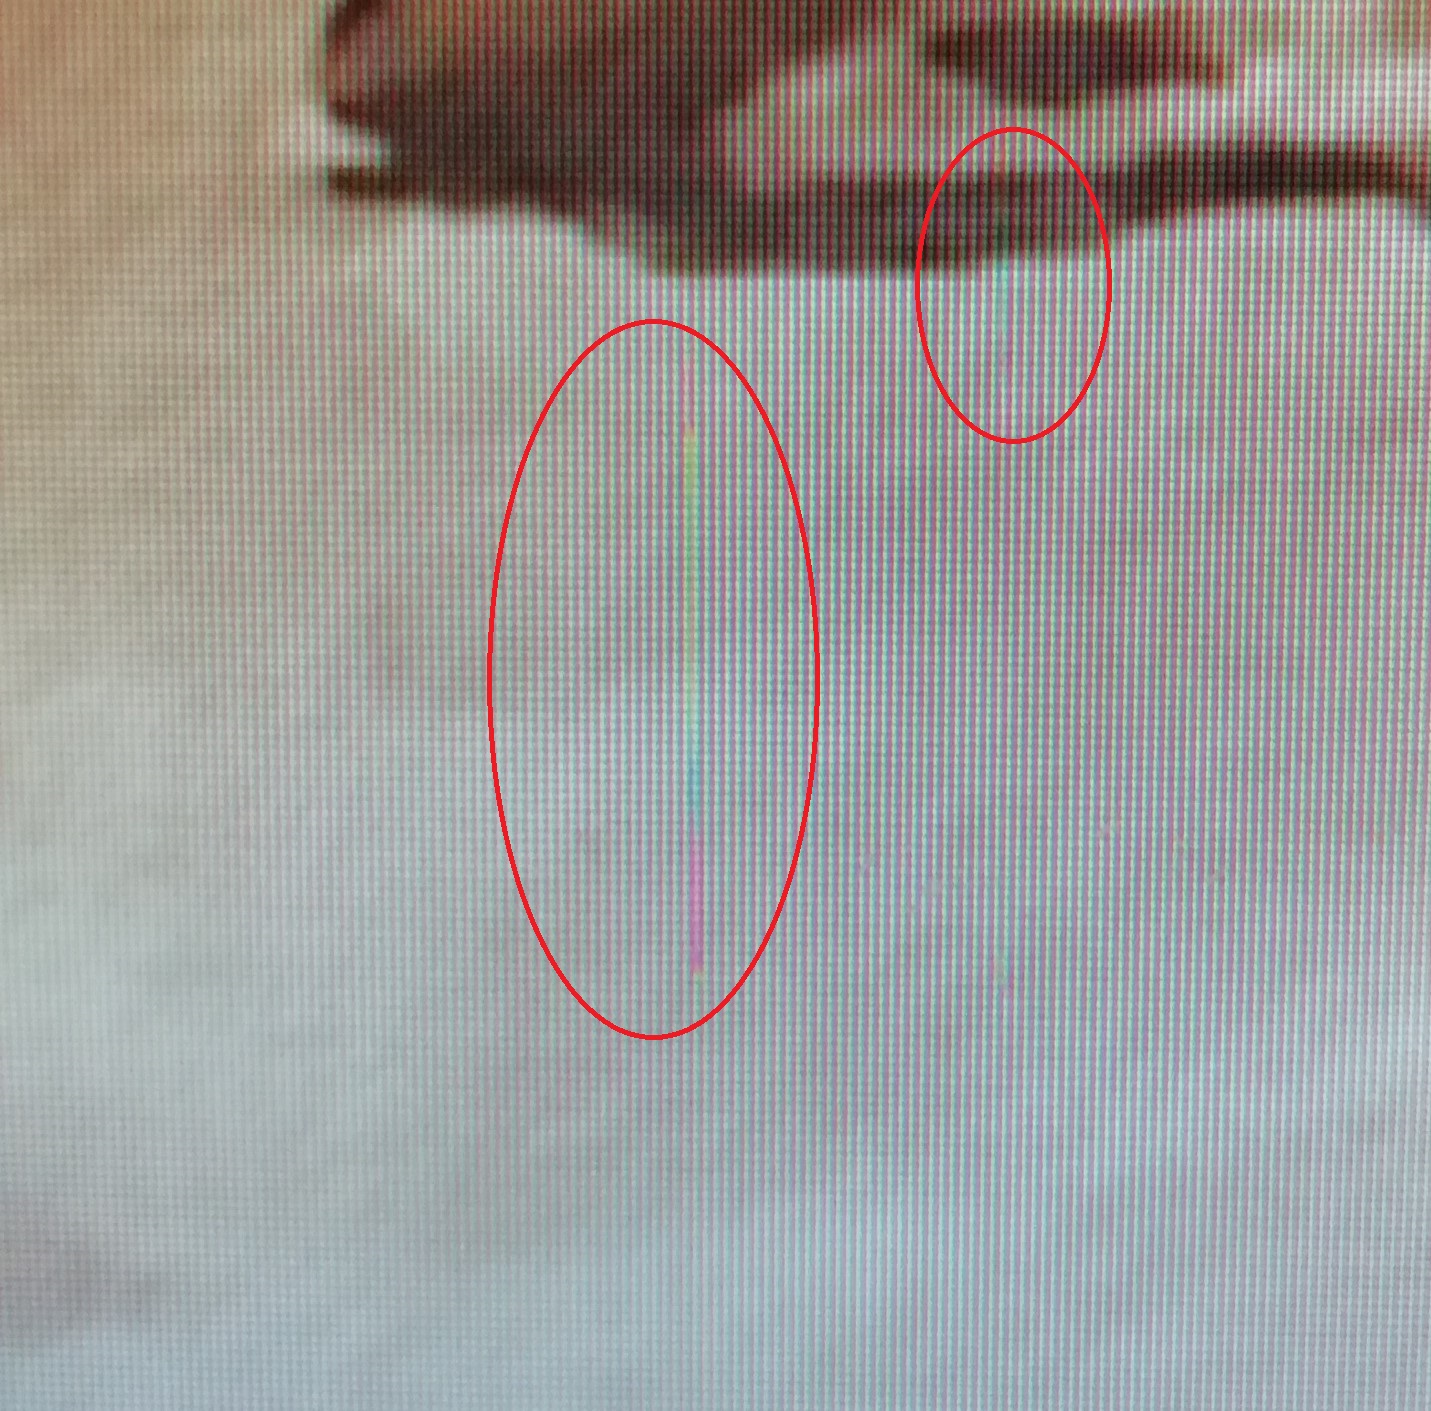
The scratch started bugging me - it's one of those that you only see when the background is light, so it just catches your eye every now and then.
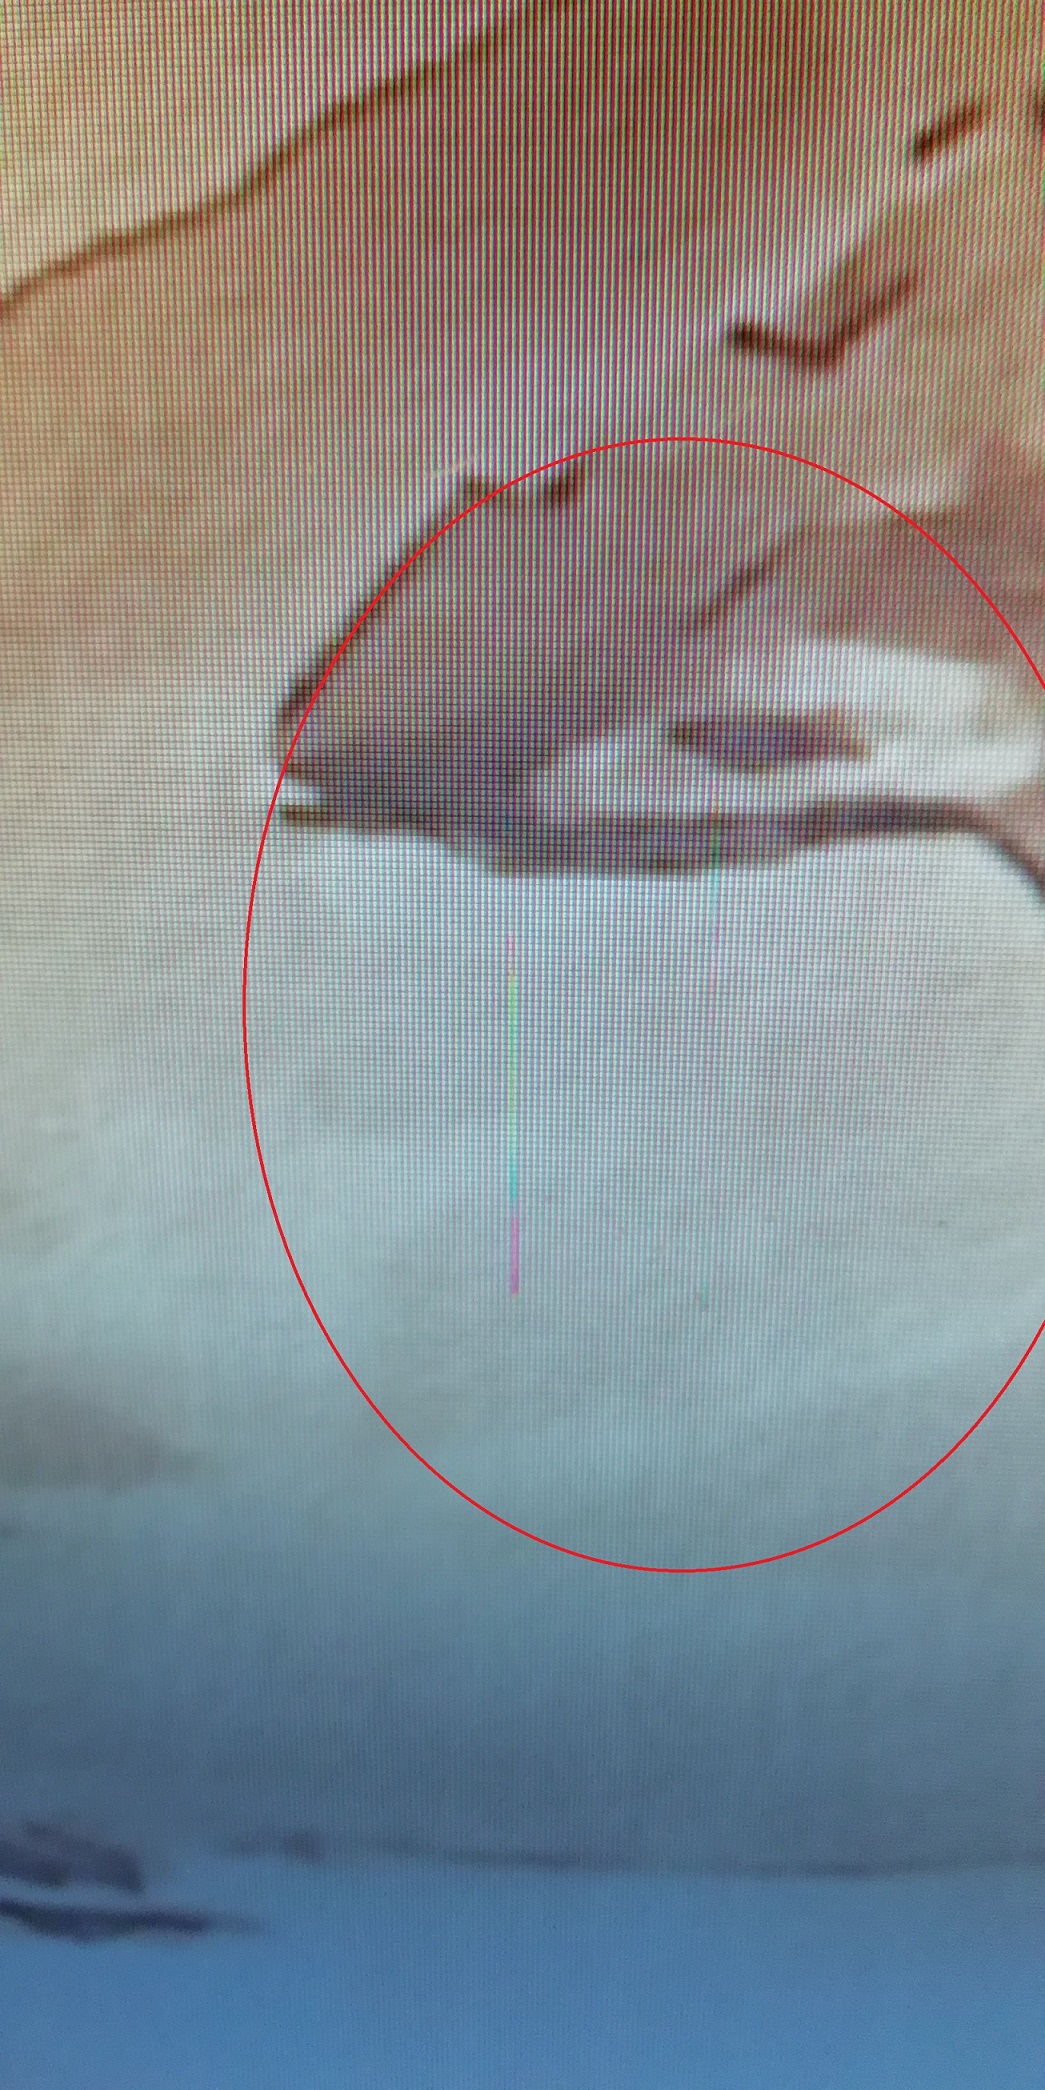
Zoomed in
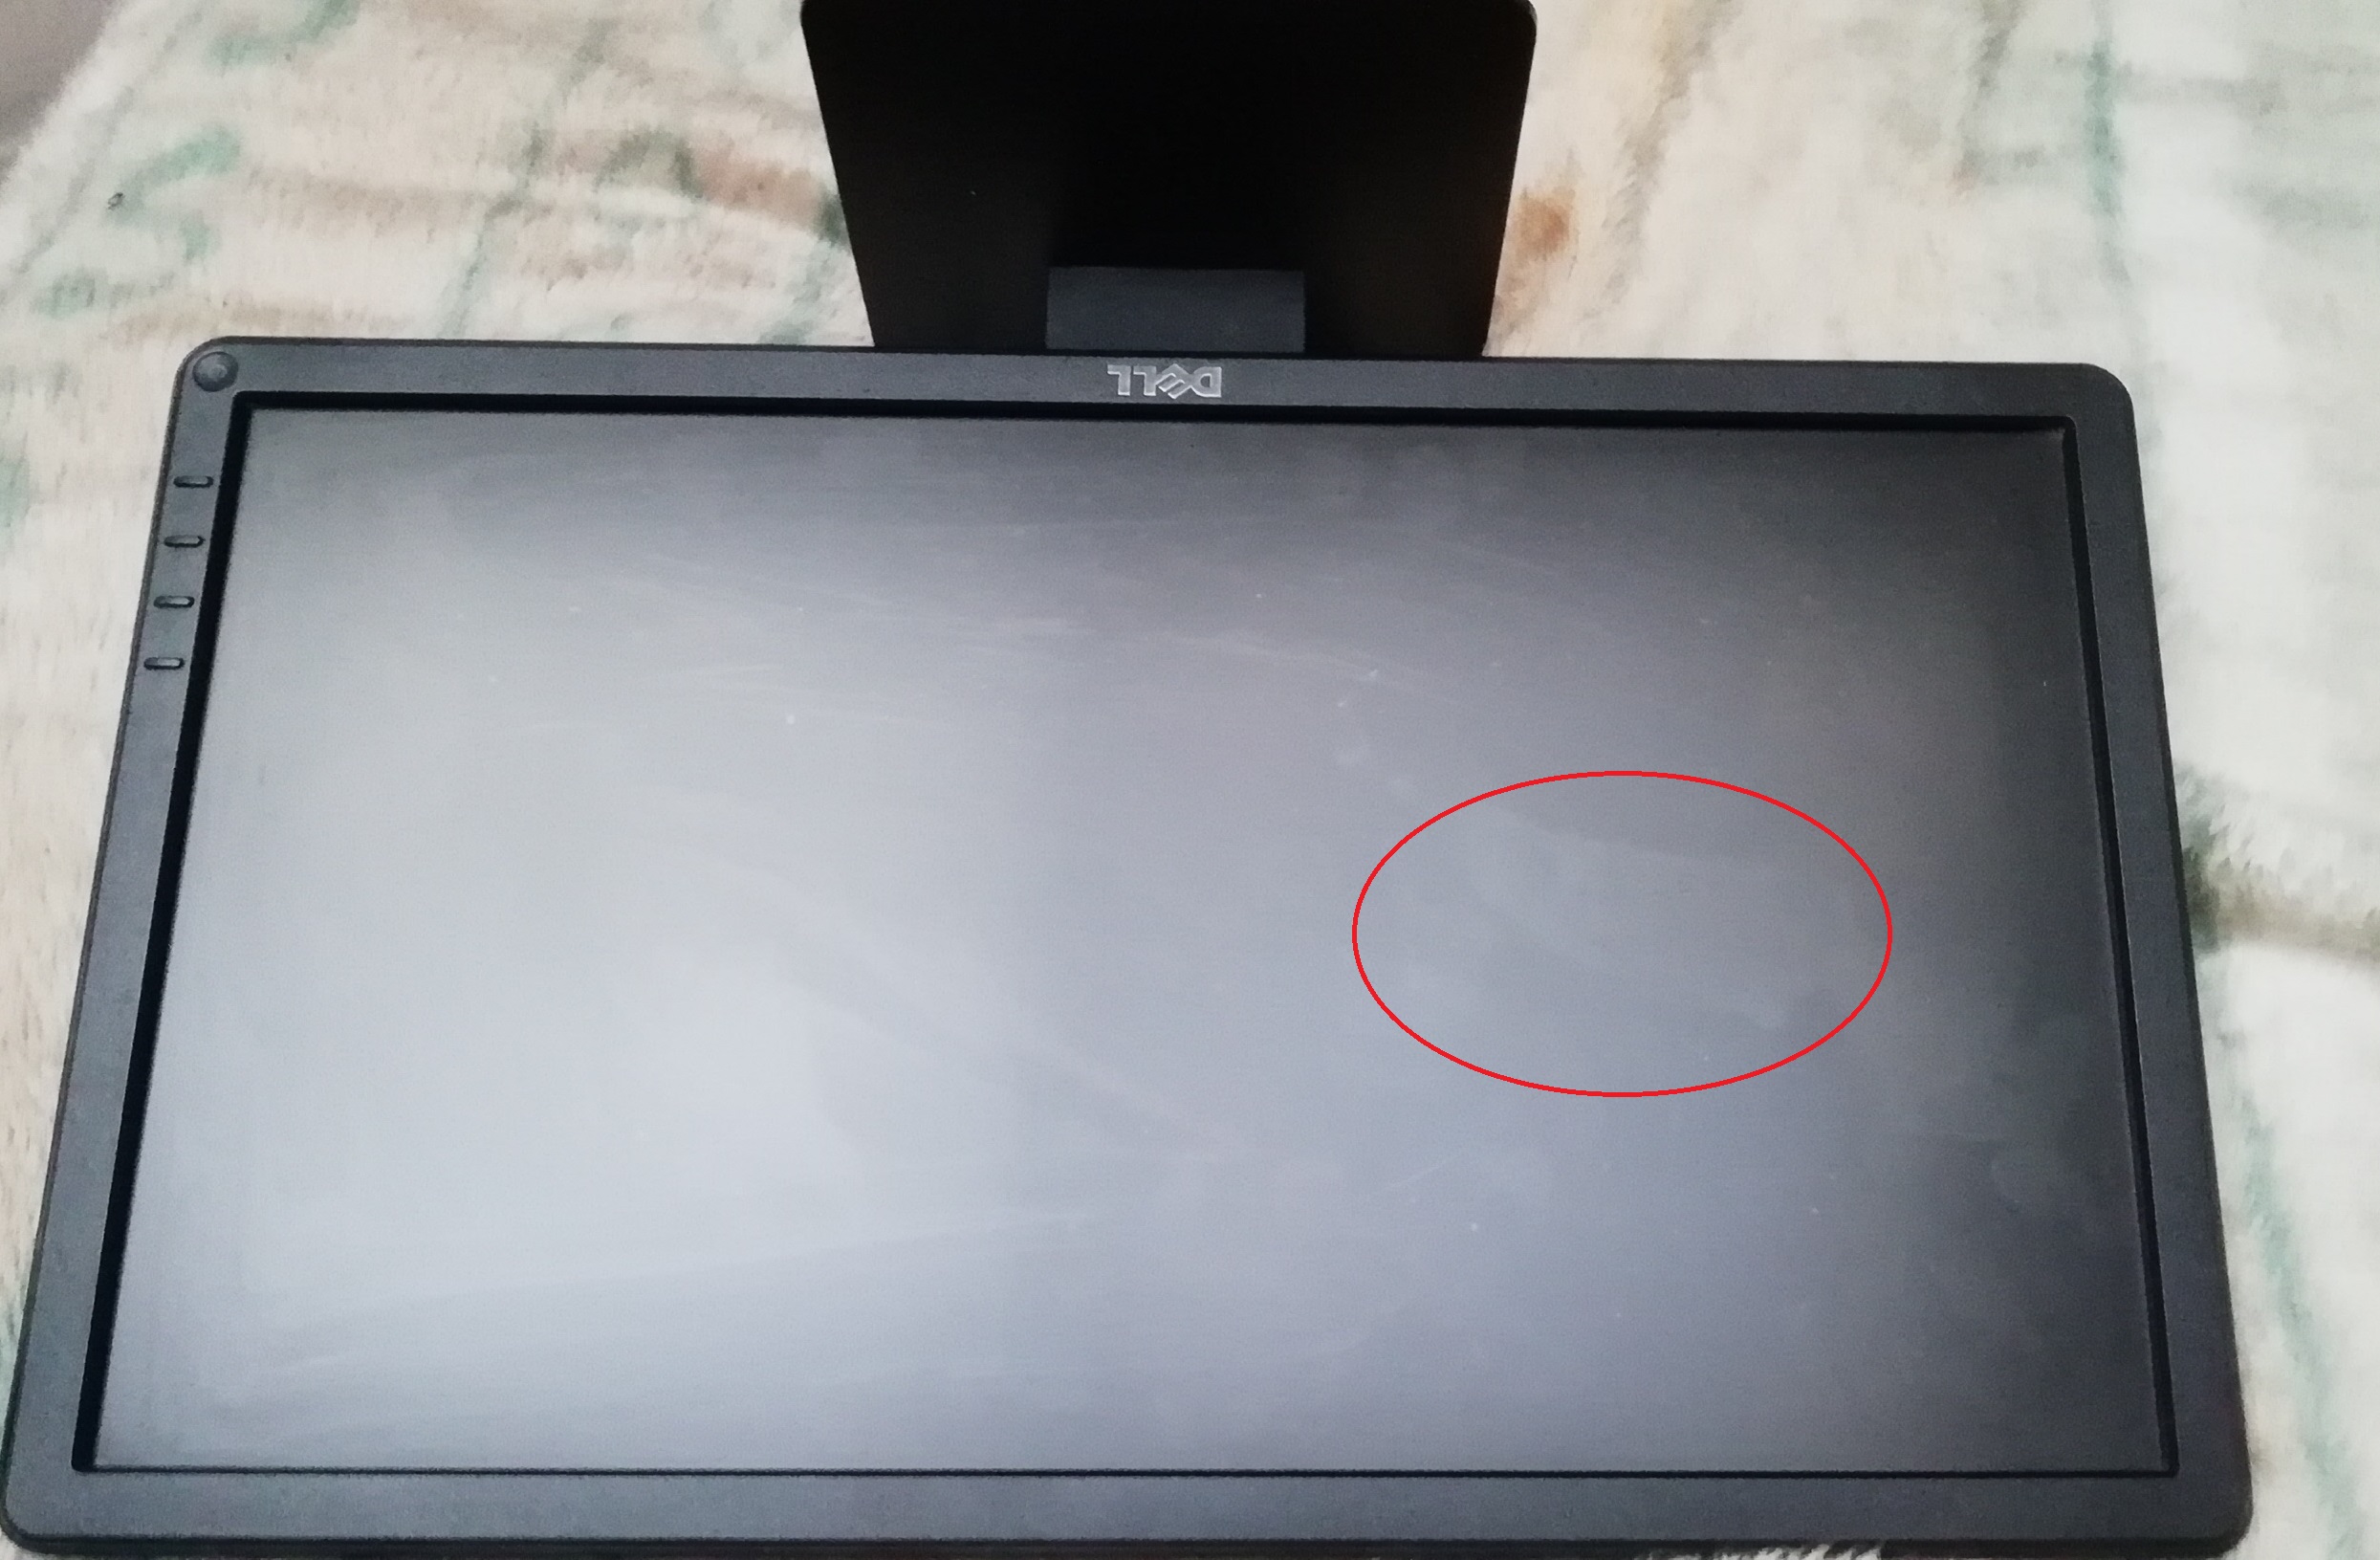
Zoomed out
So I did some Googling to see if there is some hack that I can try to fix it. The toothpaste method came up a few times, but since I never had much luck with it on CDs or DVDs I decided to keep looking.
That is when I found this video, where they use an eraser to fix minor scratches. Totally random, but I figured it is easy enough to try and do myself.
So off to the shops I go for a cheap eraser to see if this would fix the screen.
Step 0: Clean the monitor
First, I cleaned the monitor properly.
I turned it off and let it cool down completely, wiped it with a wetwipe (I have found they work best for not scratching the screens – just don’t use one of those with loads of lotion in it).
Once I wiped it all off, I lightly buffed the screen with a microfiber cloth to get rid of all the streaks.
Before the clean
After the clean
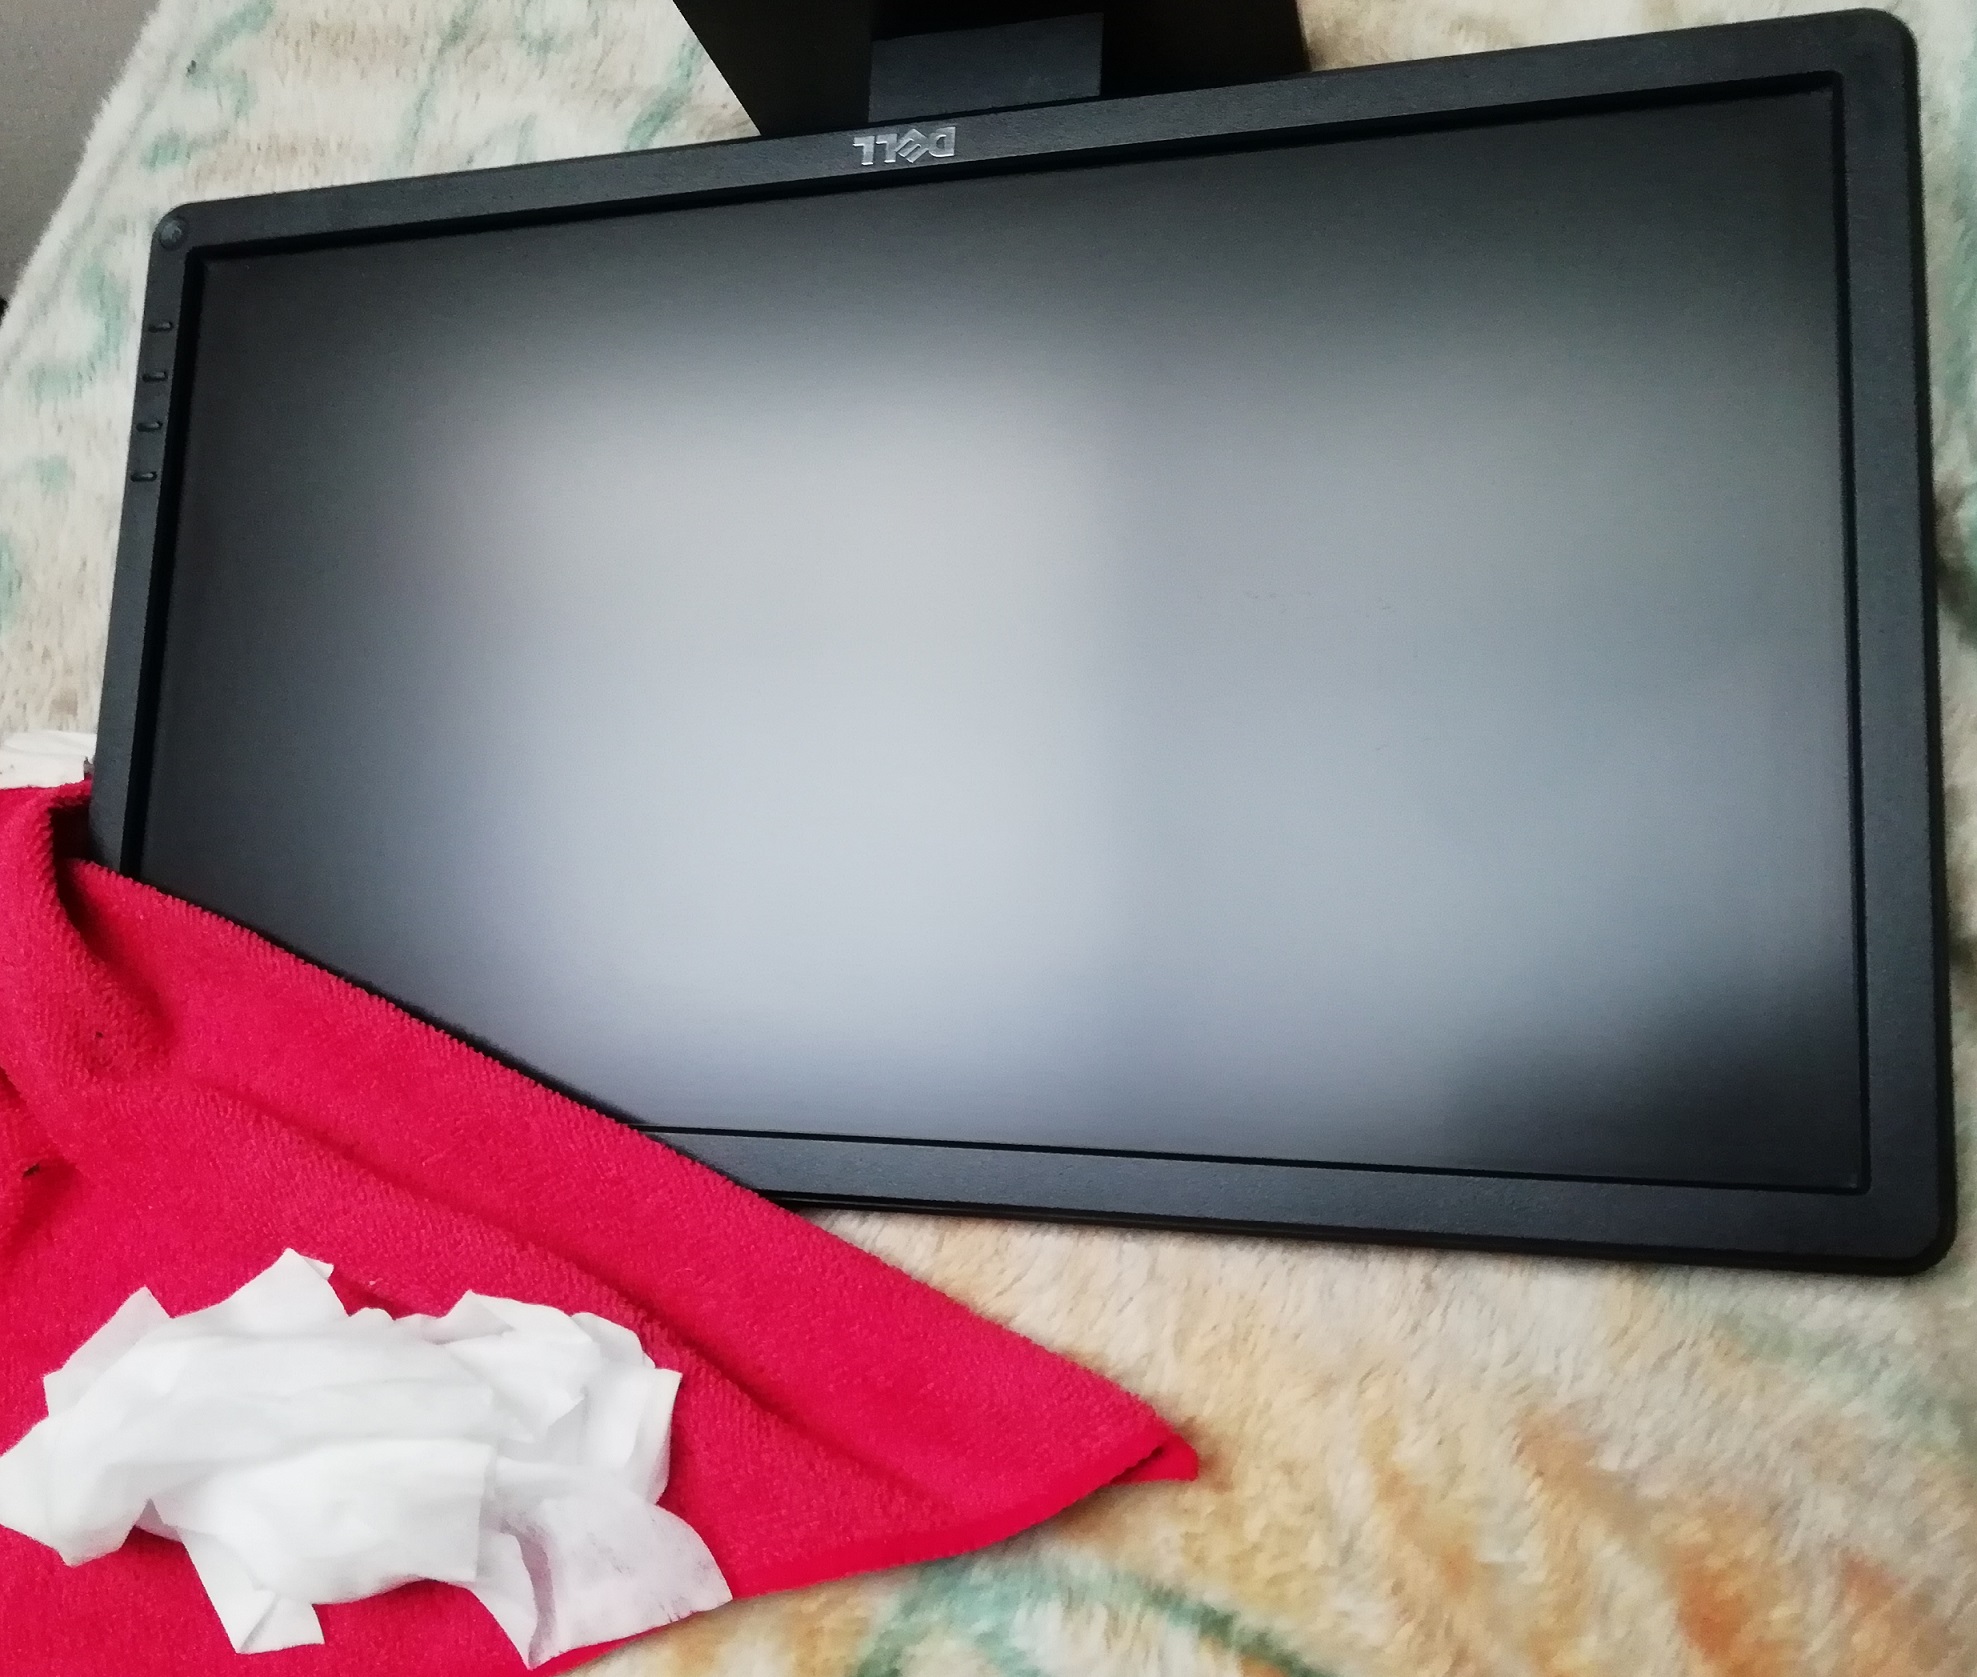
All nice and shiny and the marks are barely visible (I could not get a decent picture of the marks on the screen!)
Step 1: Applying the eraser
I then took the eraser, and just as in the video I rubbed it along the scratches and scuff marks, using light pressure.
Don’t press too hard or you will damage your screen. You have been warned!
Step 2: Clean the monitor (again)
The screen looked dull and covered with eraser marks. And it took a bit of effort to buff those marks off.
Weirdly I was very sceptical, and to a degree still am, but it did clear up the very light scuff marks and made the deeper scratches a tiny bit shorter but overall it was not that great a fix.
Final verdict: it kinda worked. The bigger and deeper scratches that are visible.
But hey, at least my monitor is nice and shiny again!